Welcome, modders! We’re excited to give you access to powerful in-game modding tools and to see how you expand and improve Cinema Theater Tycoon for everyone.
features
What You Can Create
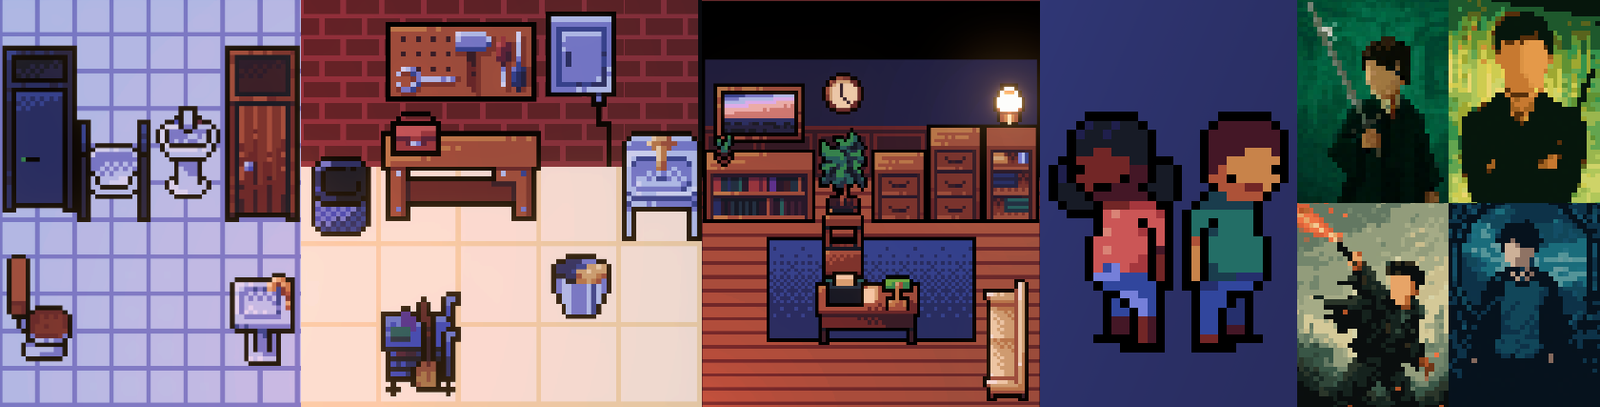
Decorative Items
Add new decorative objects to your cinema: plants, posters, furniture, floor tiles, tables and more. Items don’t change gameplay stats, but they transform the look and feel of your theater.
Add your own films directly into the game. Players will be able to research them, buy them on the secondary market, and schedule them in their theaters like any other movie.
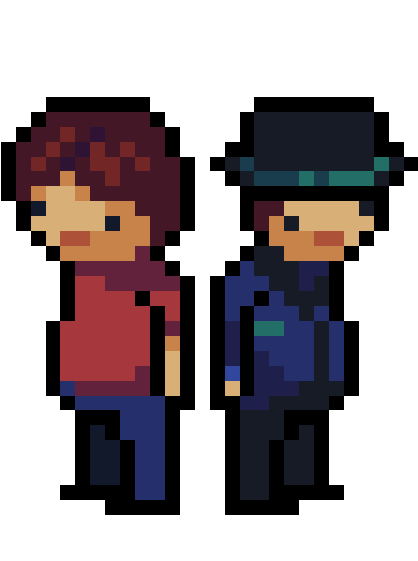
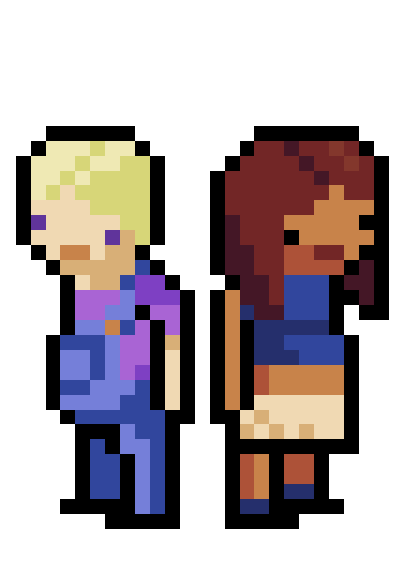
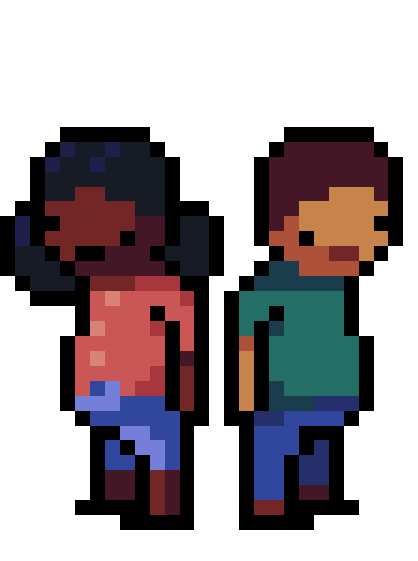
Create new customer, employee and special event skins to diversify your NPCs. Design everything from casual customers to celebrities, security, press, firefighters, musicians and more.
Choose what you want to create: Item, Film or Skin.
Fill in the required data and import your sprites (items, posters, character sheets).
Preview your content in-game and iterate until you’re happy.
Publish your mod directly to the Steam Workshop from within the game and share it with the entire community!
Creating Decorative Items
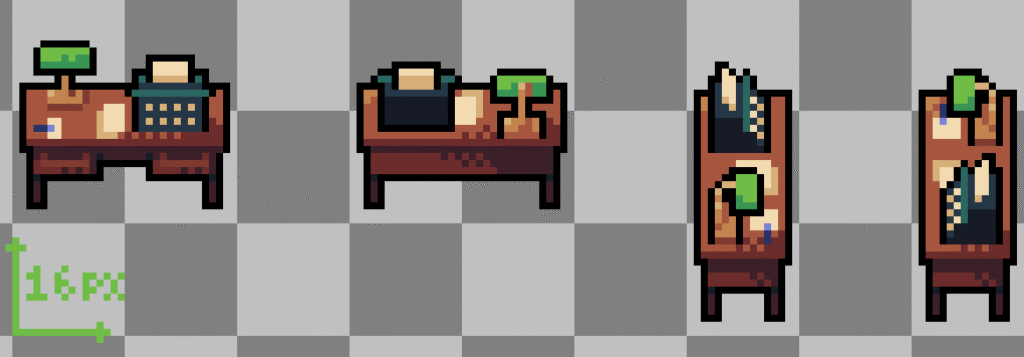
Items are decorative objects you can place in the cinema: plants, posters, tables, floor tiles, lamps, wall objects and more.
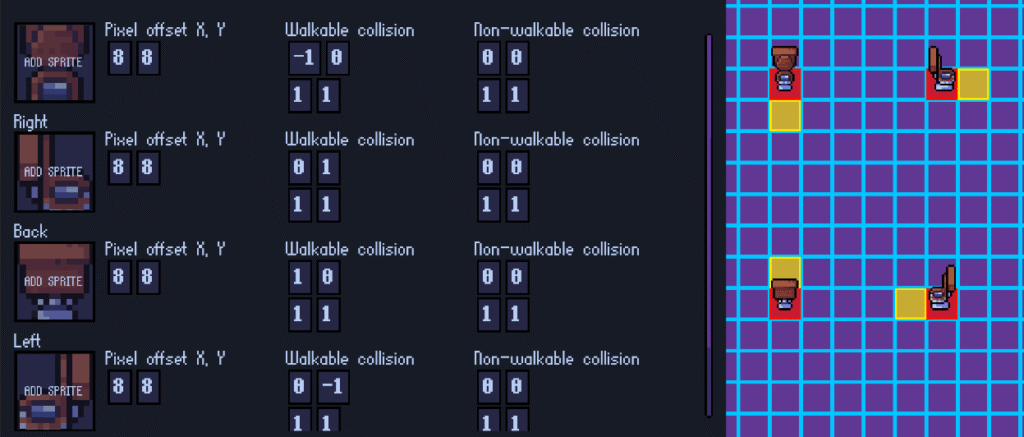
Each item needs basic information, sprites for each rotation, collision settings, and an object type.
For each sprite, you have X / Y pixel offsets to fine-tune its position on the grid so that it aligns correctly.
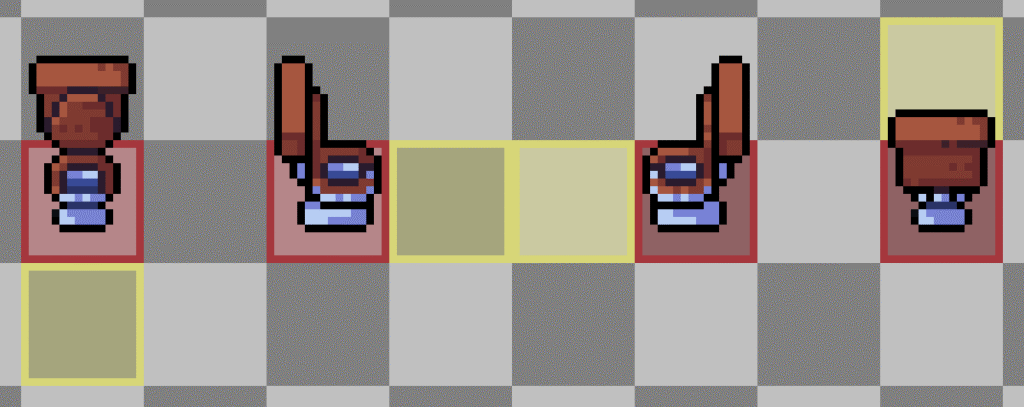
4.3 Collision Settings
The collision system controls where characters can walk and where players can place items.
Red zones = not passable (blocked)
Yellow zones = passable (characters can walk through)
You define collisions using 4 integer values:
Offset X – Horizontal offset on the grid.
Offset Y – Vertical offset on the grid.
Width – Width of the collision area (in grid cells).
Height – Height of the collision area (in grid cells).
The preview on the right of the editor updates in real time, so you can immediately see whether your collision boxes line up correctly.
💡 Important: Non-passable areas are also used to block construction on those tiles. Use them to guarantee access to objects, doors, paths and important zones.
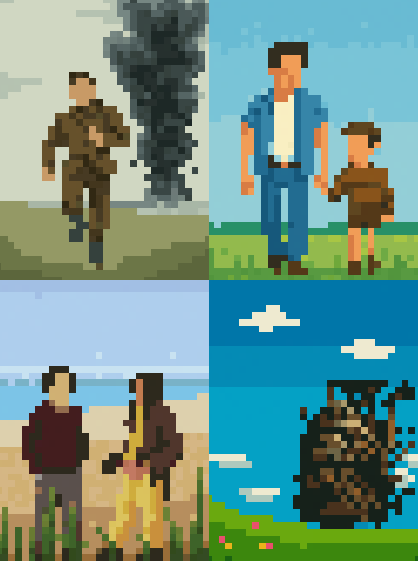
illustration schematic
tool demo
4.4 Object Types
Each item must be assigned an object type. This defines where and how it can be placed.
List of object types:
basic_object
Standard object placed anywhere there is free space (e.g. a plant).
floor_tile
Objects that sit directly on the floor (e.g. carpets). They can be placed under basic objects.
top_object
Ceiling objects such as lamps or ceiling decorations.
wall_object
Objects that can only be placed on walls (e.g. posters, wall lamps). If you want the back rotation to look the same as the front (for example, paintings that are only visible from the front), enable the option to disable the back variant.
table
Surfaces on which you can place other objects (e.g. tables, counters).
table_object
Objects that can only be placed on tables (e.g. small decorations).
Creating Character Skins
Skins define how your NPCs look in-game: customers, employees, managers and special event characters.
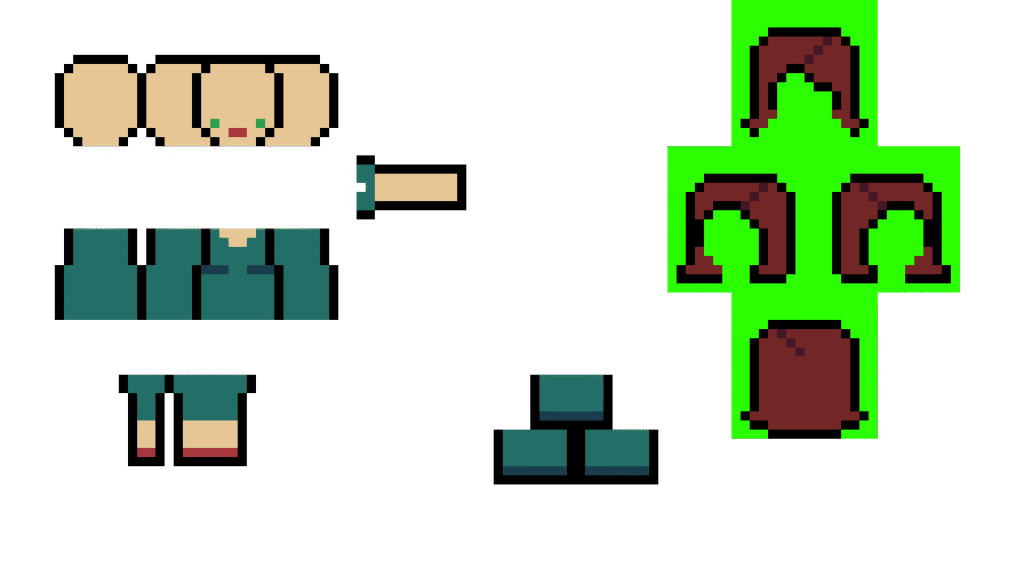
You’ll work from a reference template file and add your own colors and details.
Start by downloading the official skin reference file: [Button] Download Skin Template
The template includes:
On the left: the base character skin.
On the right: add-on layers such as hats, hair, skirts and other accessories.
You have two sample skins in the file:
One without add-ons
One with add-ons This lets you see how the different parts work together.
⚠️ Important transparency rule Any empty area MUST be pure (#2cff00). If it is not exactly #2cff00, it will appear in-game and will not be transparent.
sample_skin_addon
5.2 Avatar for Recruitment
For each skin, you must also provide an avatar image. This avatar is displayed in the employee recruitment interface and other UI elements where the character is represented as a portrait.
5.3 Skin Types
There are three main skin categories:
Client
Used for customers.
Employee
Used for employees.
Event
Special skins used for events. Combine this type with one of the following event roles:
Star
Security
Press
Firefighter
Police
Bistro / Bar Staff
Army
Delivery
Musician
Manager
Manager skins are used when you reach the late game in your cinema. The game picks a manager skin at random among all manager skins you created. If you want to guarantee a specific manager look, create only one Manager-type skin.
5.4 Additional Skin Settings
For each skin, you must also define:
Gender – Used for in-game logic and variety.
Minimum and maximum valid year – The in-game date range where this skin is allowed to appear (e.g. only after a certain decade).
Seasons – The seasons in which the skin can appear (e.g. summer outfits, winter coats, etc.).
Creating Films
Films are fully integrated into the game’s research and secondary market systems.
A good film mod combines a readable poster with solid metadata (duration, rating, rarity, genre, etc.).
6.1 Poster Requirements
You must create a poster image of 32×48 pixels. This small resolution is the main artistic challenge: your poster must be recognizable and visually appealing even at a very small size.
6.2 Film Metadata
Each film needs the following information:
Title – The name of the film.
Director – The credited director.
Description – A short synopsis or pitch for the movie.
Release Year – The year the film was released in the game’s universe.
6.3 Duration
Film duration is expressed in steps of 0.5, where 0.5 = 30 minutes.
Examples:
90 minutes → 1.5
120 minutes → 2.0
130 minutes (rounded) → 2.0
Always round to the nearest 0.5 increment.
6.4 Rating, Rarity & Format
Public Rating – A score from 0 to 100, representing how much the audience likes the film.
Rarity – A value from 0 to 3 (0 = very common, 3 = very rare).
Available Formats – Choose the formats your film is released in:
Black & White
Color
IMAX
3D
4DX
6.5 Genre & Distribution
Genre – Select the genre(s) that best describe your film (e.g. comedy, horror, drama, action).
Distributor / Distribution Zones – Define which distributor handles the film and in which zones it is available for research and the secondary market.
These settings control where and how players can find and buy your film in-game.
Best Practices for Great Mods
Start small – Begin with a simple item or a single skin to learn the workflow.
Test often – Use the in-game preview to adjust offsets, collisions and readability.
Keep it readable – For posters and skins, avoid too much detail; focus on clear shapes and strong colors.
Stay consistent – Match the general art style of Cinema Theater Tycoon so your mods feel native to the game.
Document your mods – When you share them, include screenshots and a short description so players know what they’re downloading.
Ready to Build Your First Mod?
Open the Modding Tools, download the templates and start creating your own items, films and skins today.